OpenOnDemand
OpenOnDemand is a platform for running computational tasks on a cluster from a web browser. If those tasks are interactive, it provides the ability to interact with them once the task has started its execution. OpenOnDemand has an "App" based plugin system for adding new types of computational tasks and interactivity.
One of the greatest benefits of this system is remote access to large machines for computational tasks, without the need for utilizing a commnand-line interface that is difficult to learn.
Our installation is available at https://ondemand.beocat.ksu.edu
File Management
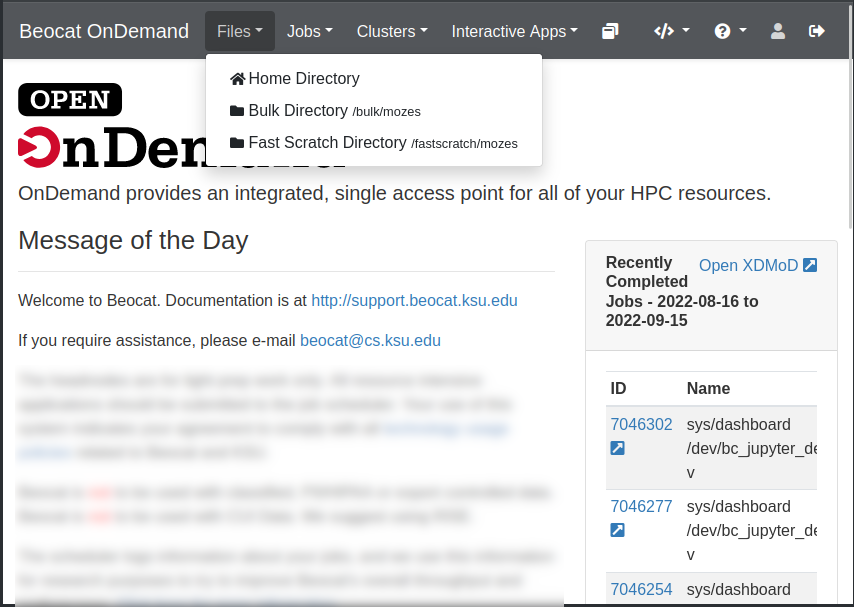
File management can be accessed through the Files dropdown in the dashboard.
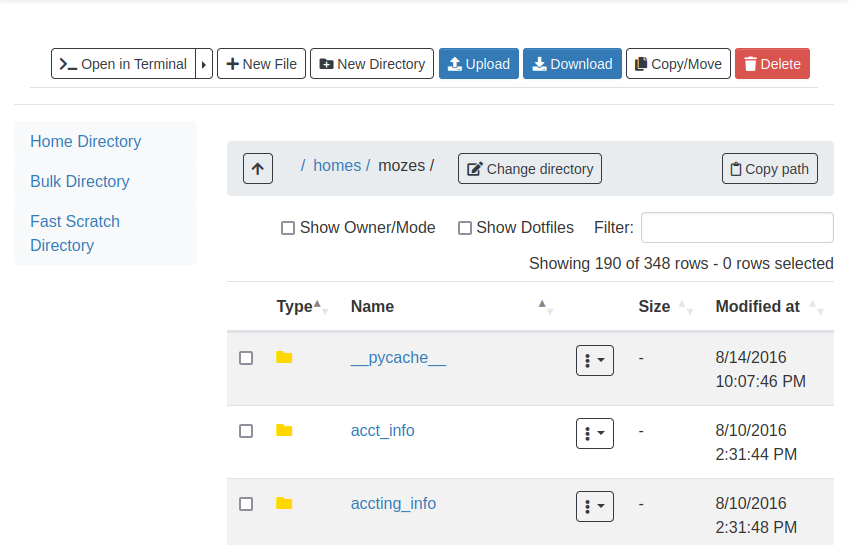
Once you click on Home Directory, you can manage your files, upload/download/rename/edit and view.
If you're looking for a way to get your files into and out of OneDrive, Google Drive, other cloud providers you may be interested in taking a look at our documentation for Onedrive Data Transfer
Job Management
A cluster isn't much of a cluster if it can't run jobs for you to lookup later. OpenOnDemand has a robust job management application builtin.
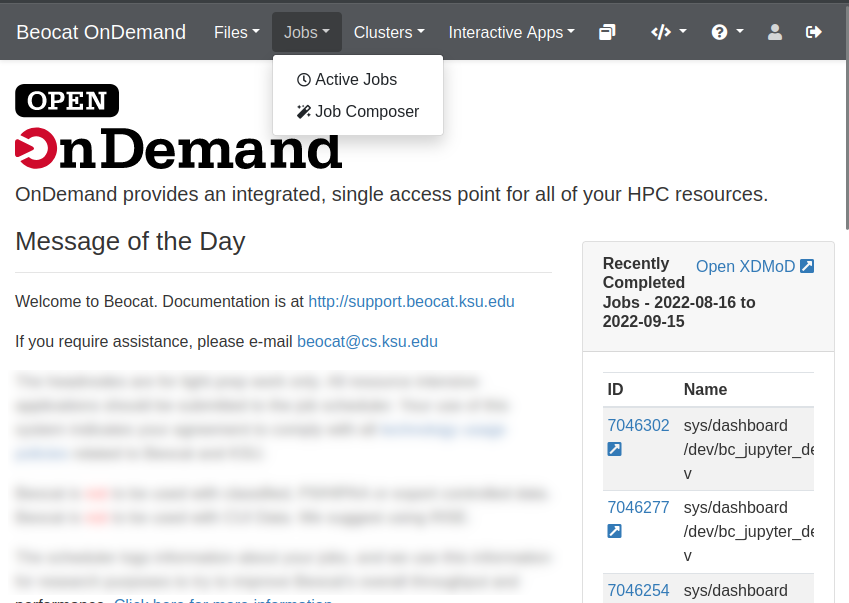
It is accessible from the Jobs dropdown in the dashboard.
View Active Jobs
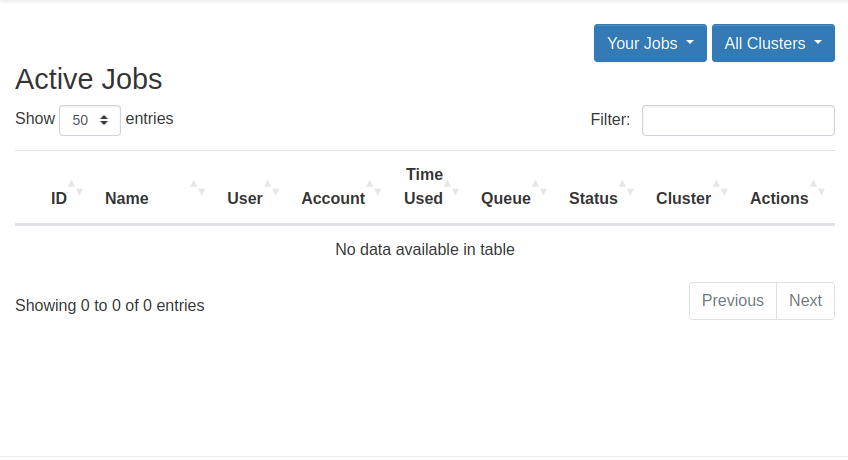
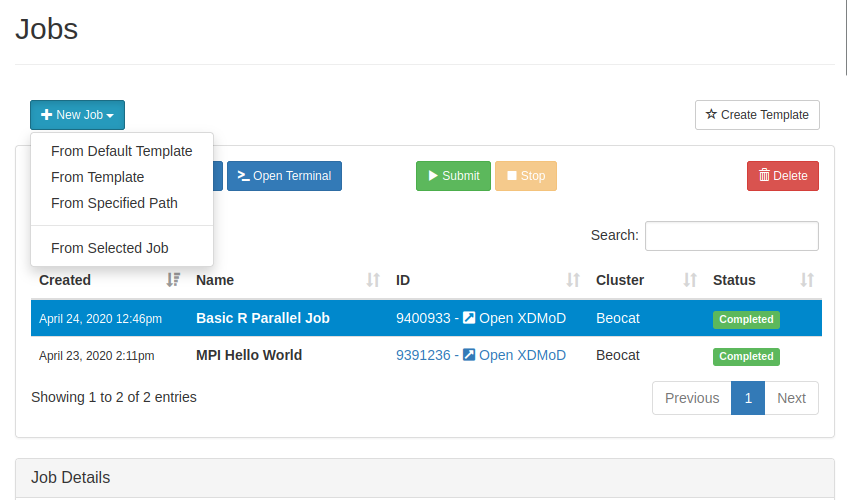
You can view your active jobs and get more information about them from the Active Jobs option in the Jobs dropdown
Compose Jobs
You can create new jobs through the "Job Composer" in the jobs dropdown.
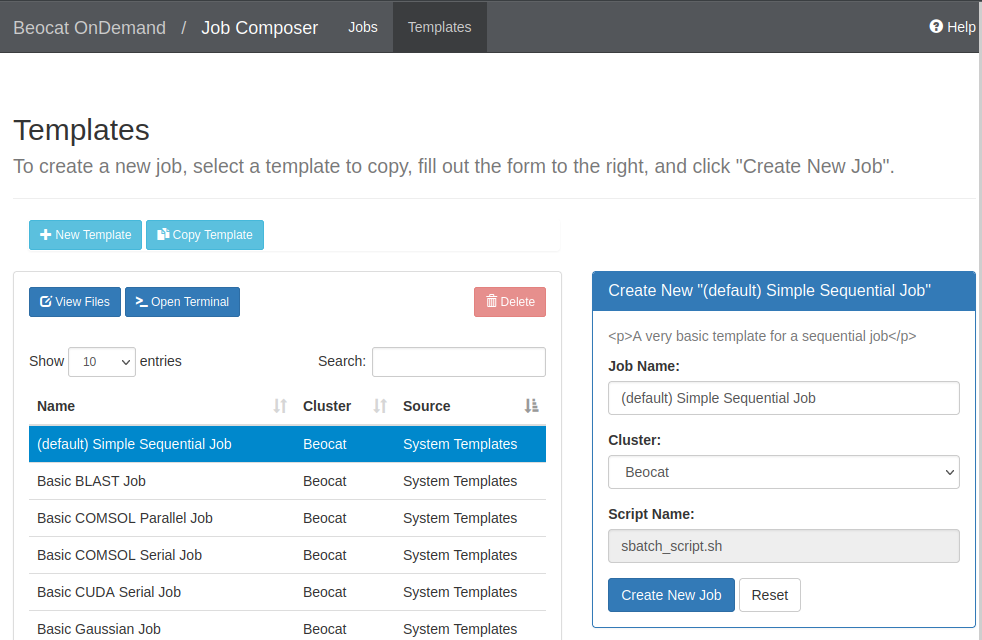
If we create a new job from a template, you're given a list of templates to use:
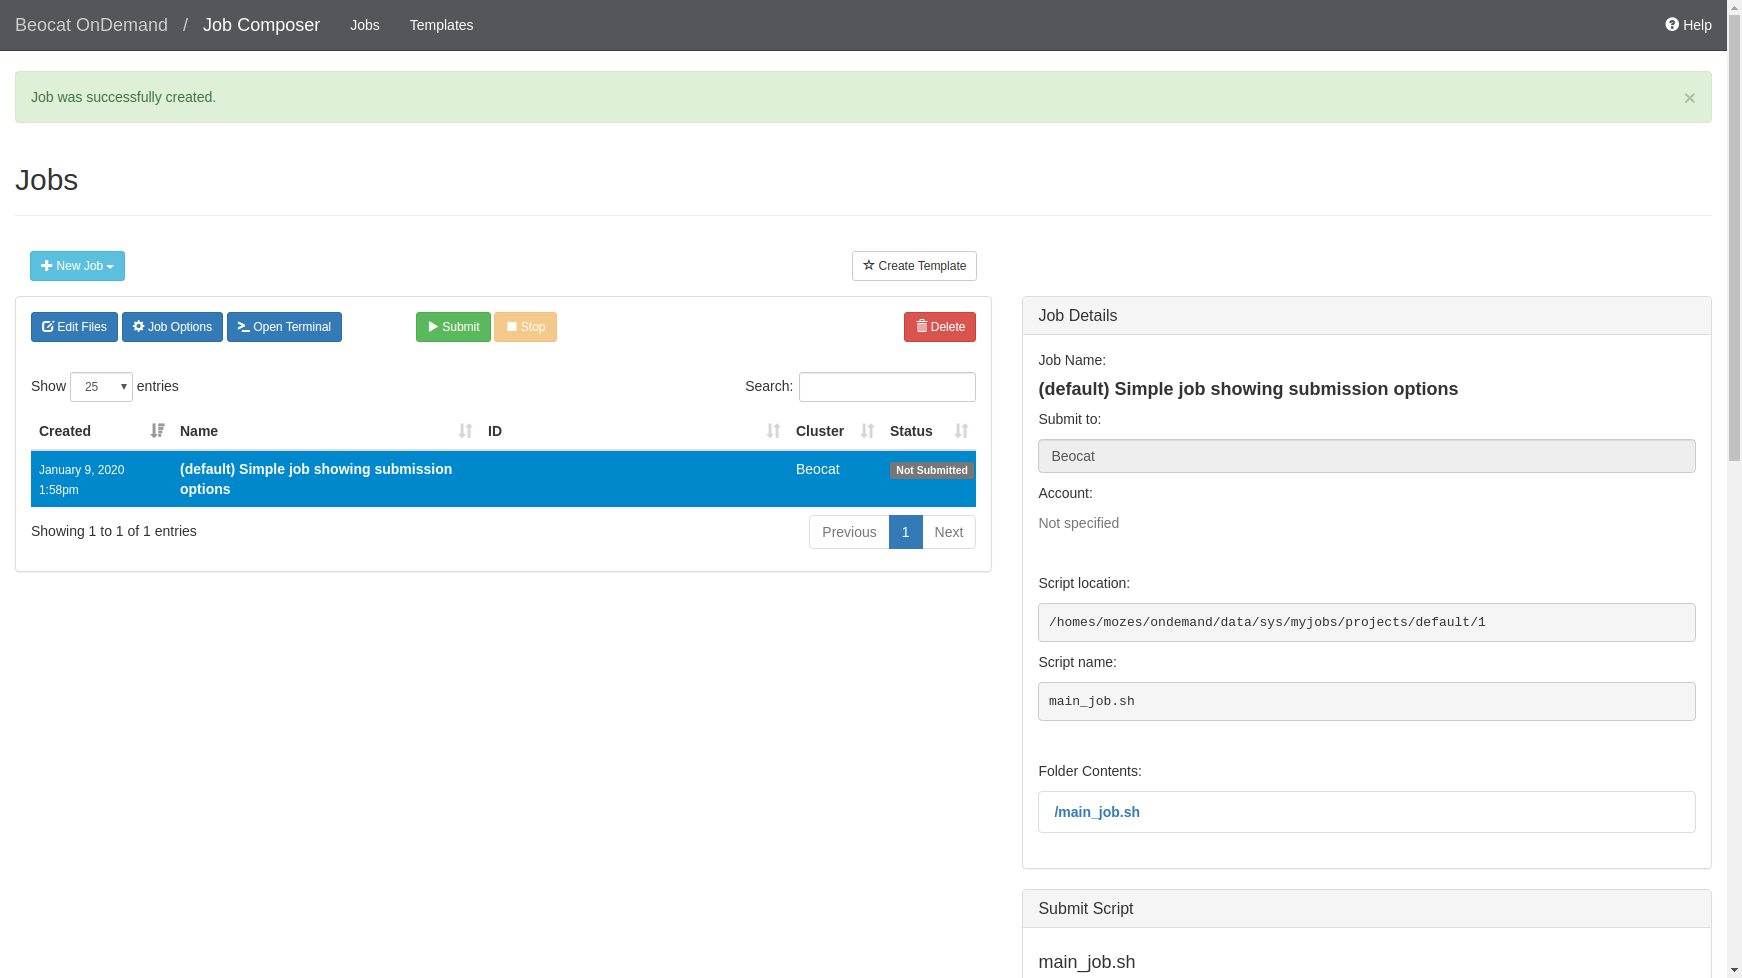
If we choose the default template, you can run it, or edit the job script to make it do what you would like
Interactive Applications
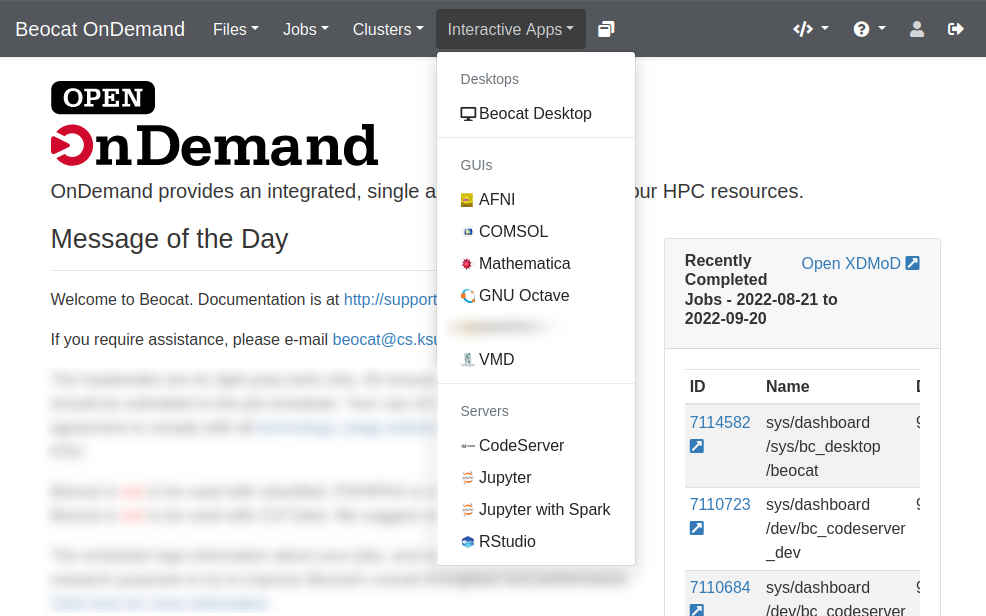
We have a number of interactive applications being made available through OpenOnDemand
- Beocat Desktop
- COMSOL
- Octave
- VMD
- Mathematica Please note, this is from a site license limited to KSU students, faculty and staff.
- AFNI
- CodeServer is a cloud native version of VS Code that runs on the compute nodes. Useful, since VS Code's remote connections cannot be used with Beocat. Other names for VS Code may be VSCode or Visual Studio Code.
- Jupyter
- RStudio
RStudio
RStudio is one of the interactive applications that we've enabled for use within OpenOnDemand
You launch interactive apps through the "Interactive Apps" dropdown.
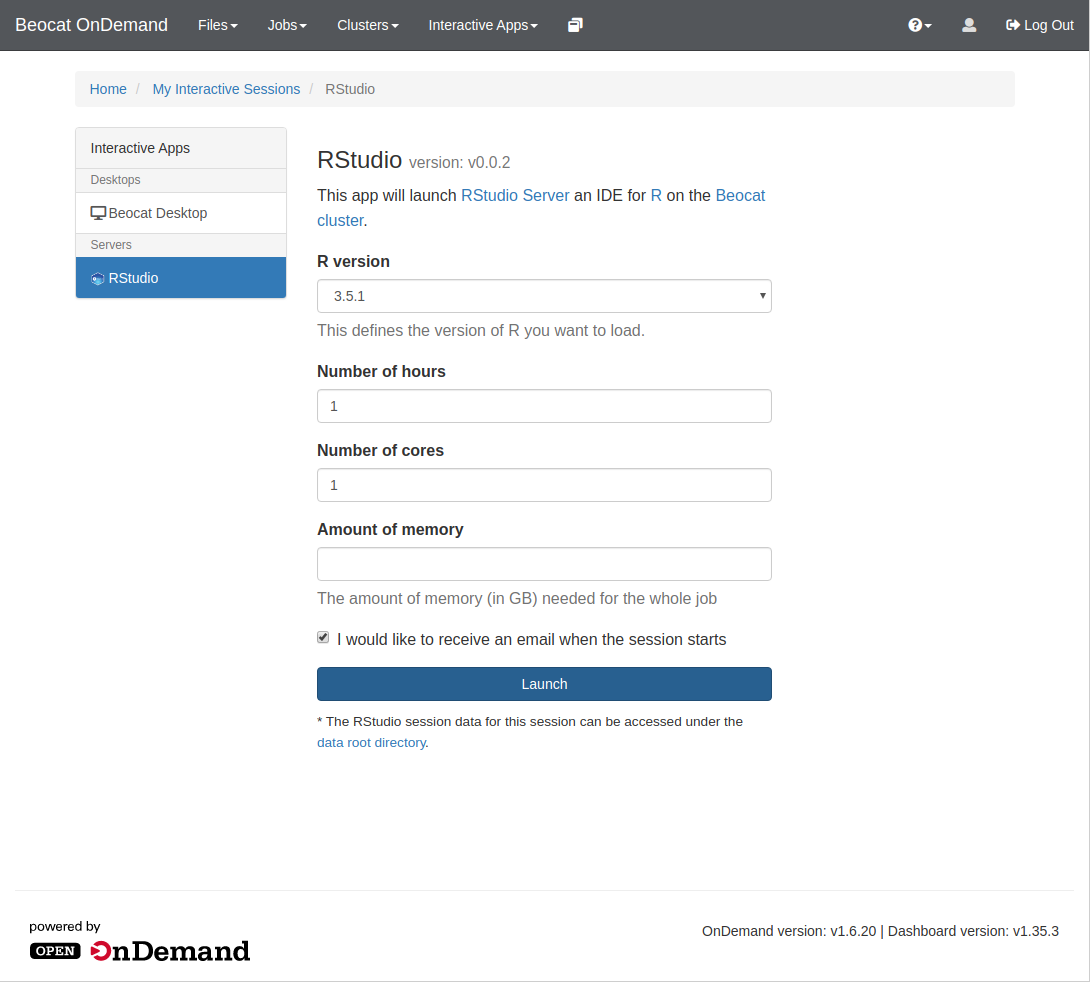
Once you click on RStudio, you'll be brought to a page allowing you to specify requirements for your RStudio run, e.g. memory, cores, and runtime.
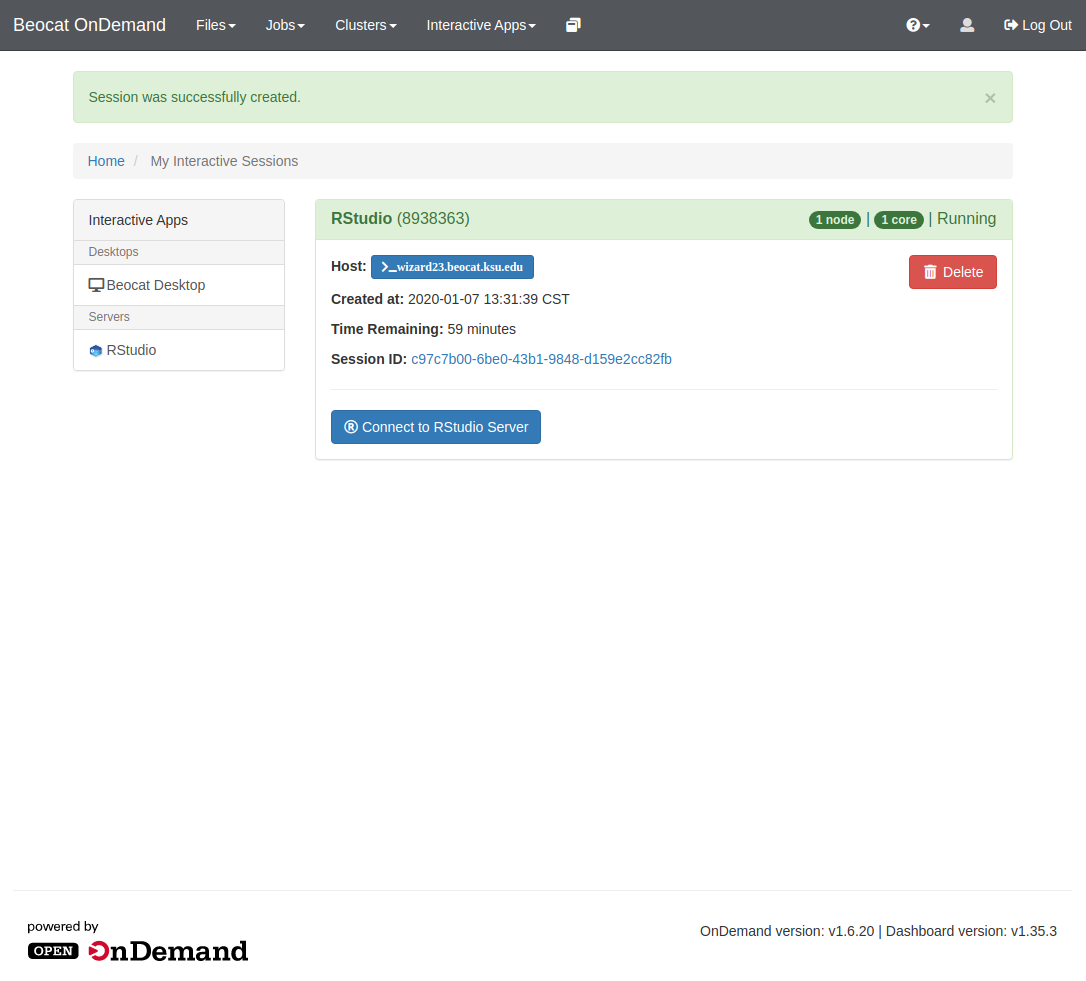
Once the job is submitted, the scheduler will take it and run it when space is available. Once the job is running, "My Interactive sessions" page will look like this:
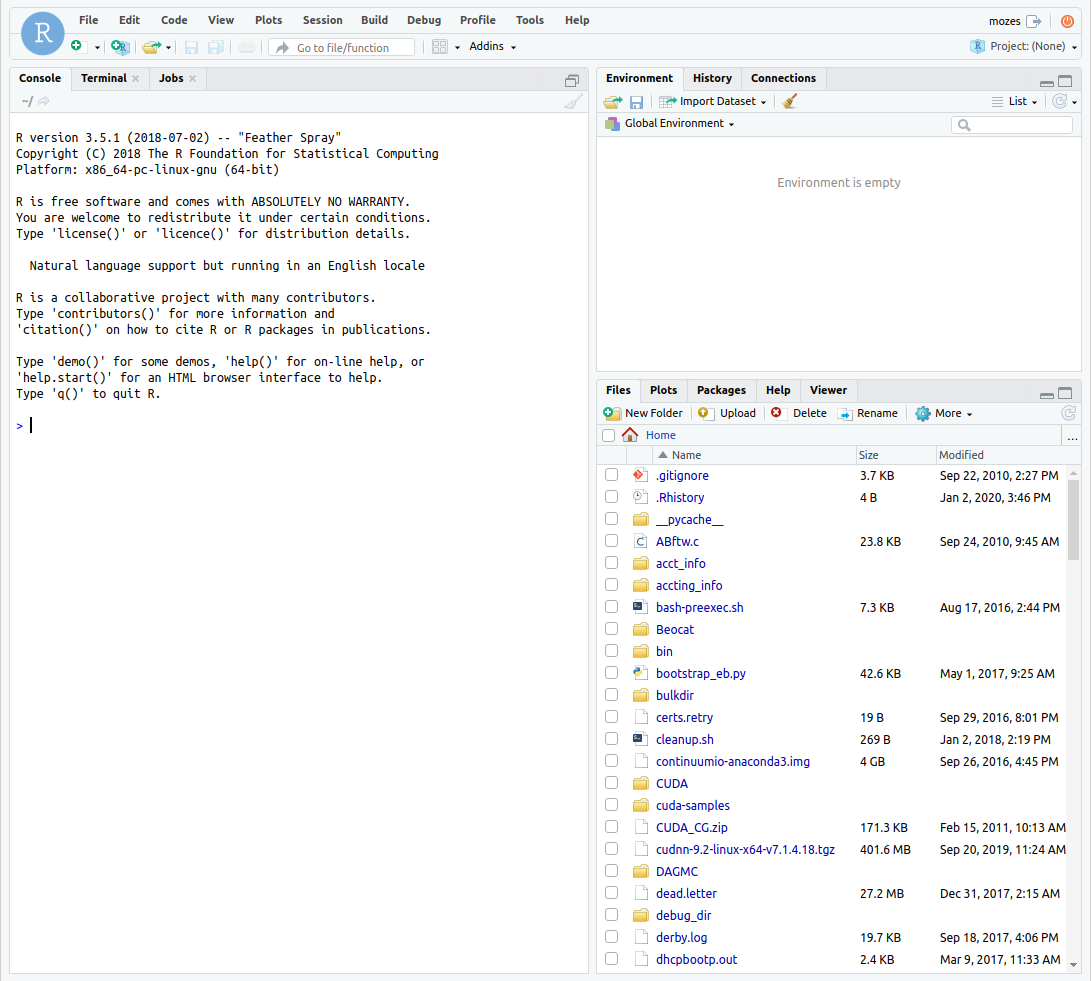
From there, you can connect to RStudio and it will bring you to a familiar interface.
Jupyter
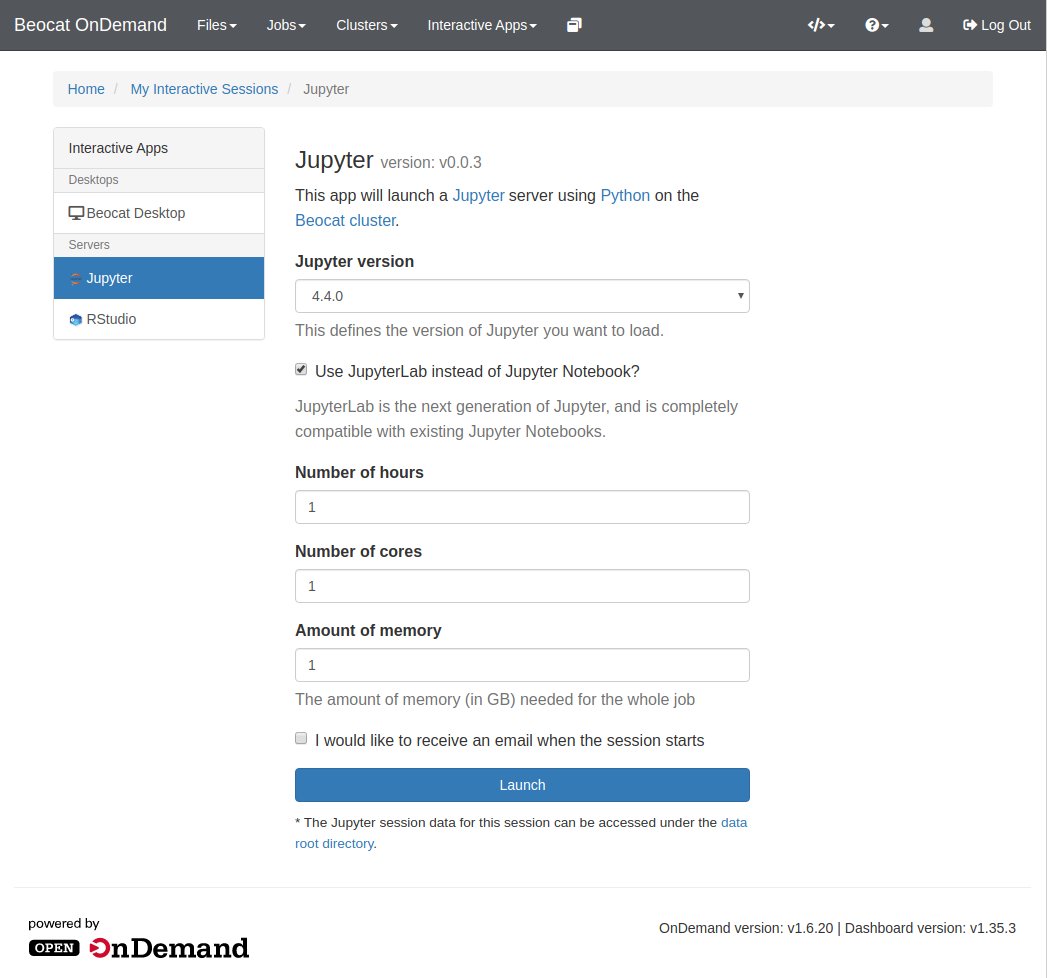
Like RStudio above, click on Interactive Apps and then go to Jupyter. From there, you'll have a form that allows you to specify requirements for your Jupyter run.
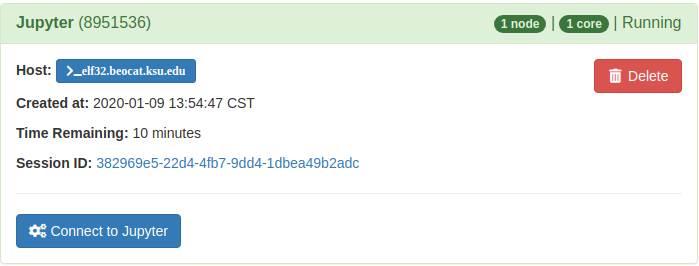
Once the job is launched it will take you to a page where you can connect to your running Jupyter service
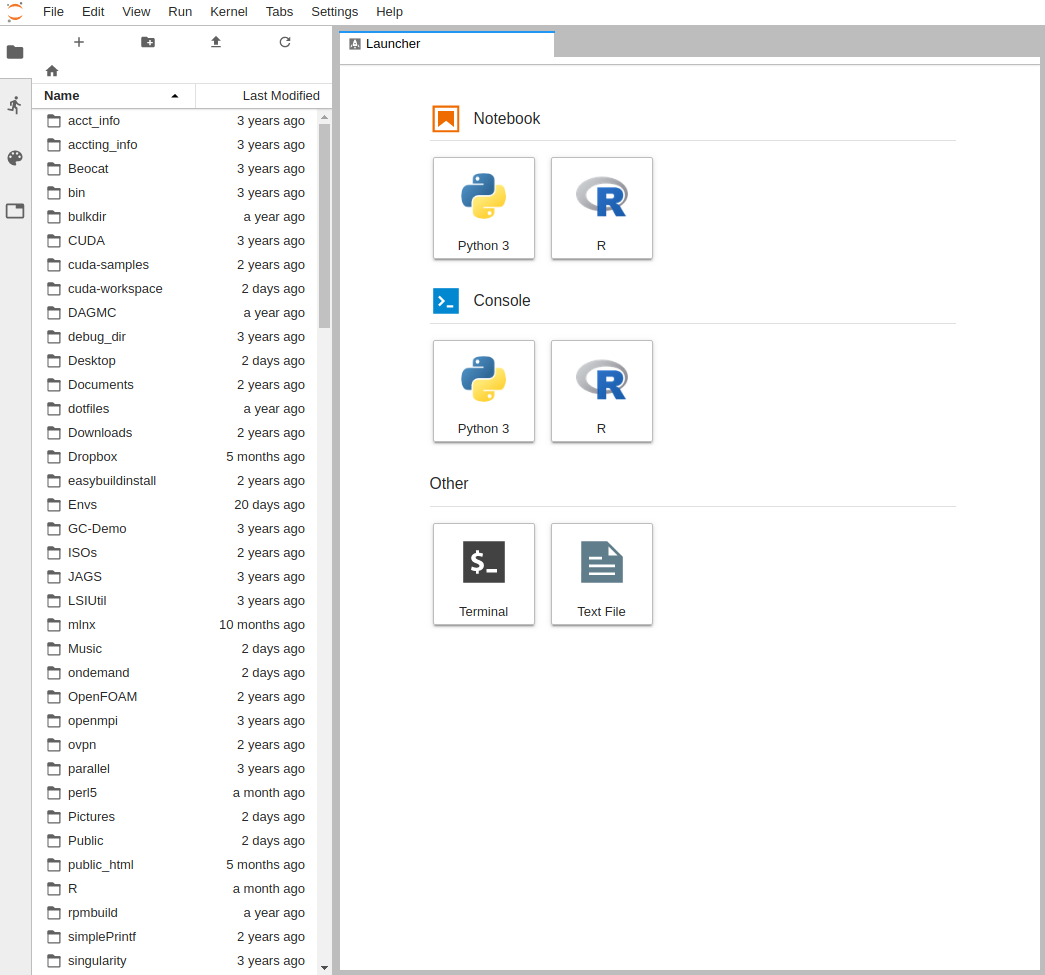
It will then take you to the interface you chose, below is the JupyterLab interface:
Jupyter Kernels currently supported:
- Python 2
- Python 3
- R
- Octave
- Sage
Julia support will come, but will need each user to set it up individually. There is currently a large bug centered around Julia, CentOS/RHEL, and our shared filesystem (Ceph).
Extra Python libraries
Without extra setup
You may need to install extra python libraries to use with your Jupyter Python kernels. For instance, this is how you'd install tobler
!pip install --user tobler

# Sometimes Jupyter notebook needs to then be told how to find the libraries you've installed in that manner.
# Your username should be put in place of the <PUT_YOUR_USERNAME_HERE> text.
# this will need to change if you are not using a 3.7 kernel
import sys
sys.path.append("/homes/<PUT_YOUR_USERNAME_HERE>/.local/lib/python3.7/site-packages")
With virtualenv
Sometimes it is useful to have separation between your various projects, for instance being able to use multiple versions of a python library in different projects.
You can setup a virtual environment (or many) for use with our Jupyter environment.
# First we'll activate the ability to use the ondemand modules:
module use /opt/beocat/ondemand_modules

# Then we can list the jupyter_python modules (so we can use them to create the virtualenv
module list jupyter_python

# Load the version you would like (ideally you use a jupyter_python module for this, otherwise the virtualenv itself will have to have a decent amount of jupyter libraries installed into it
module load jupyter_python/3.8.6-TensorFlow-2.4.1

# If you'd like to see what libraries this actually loaded, you can check it with the following:
module list

# We'll create a virtual environment (activate it and install any libraries you need.
virtualenv --system-site-packages /homes/mozes/virtualenvs/testing_ondemand_jupyter
. /homes/mozes/virtualenvs/testing_ondemand_jupyter/bin/activate
pip install # insert needed libraries here

# here we create a directory to hold the configuration files for telling our Jupyter environment about your virtual environment
mkdir -p ~/ondemand/jupyter_kernel_configs

# Now we need to create a configuration file to instruct Jupyter to find this virtual environment
nano ~/ondemand/jupyter_kernel_configs/my_environment_name.sh

# in that file should be lines like the following:
NAME="testing_ondemand_virtualenv"
VIRTUAL_ENV="/homes/mozes/virtualenvs/testing_ondemand_jupyter"
MODULES="jupyter_python/3.8.6-TensorFlow-2.4.1"

# of course, you should provide your own name and path to the virtual environment. Please don't put spaces in the name.
Once you start a new jupyter session it should list the new kernel option that uses your virtualenv
With conda
Conda environments should automatically show up if conda is in the PATH.
Beocat Desktop
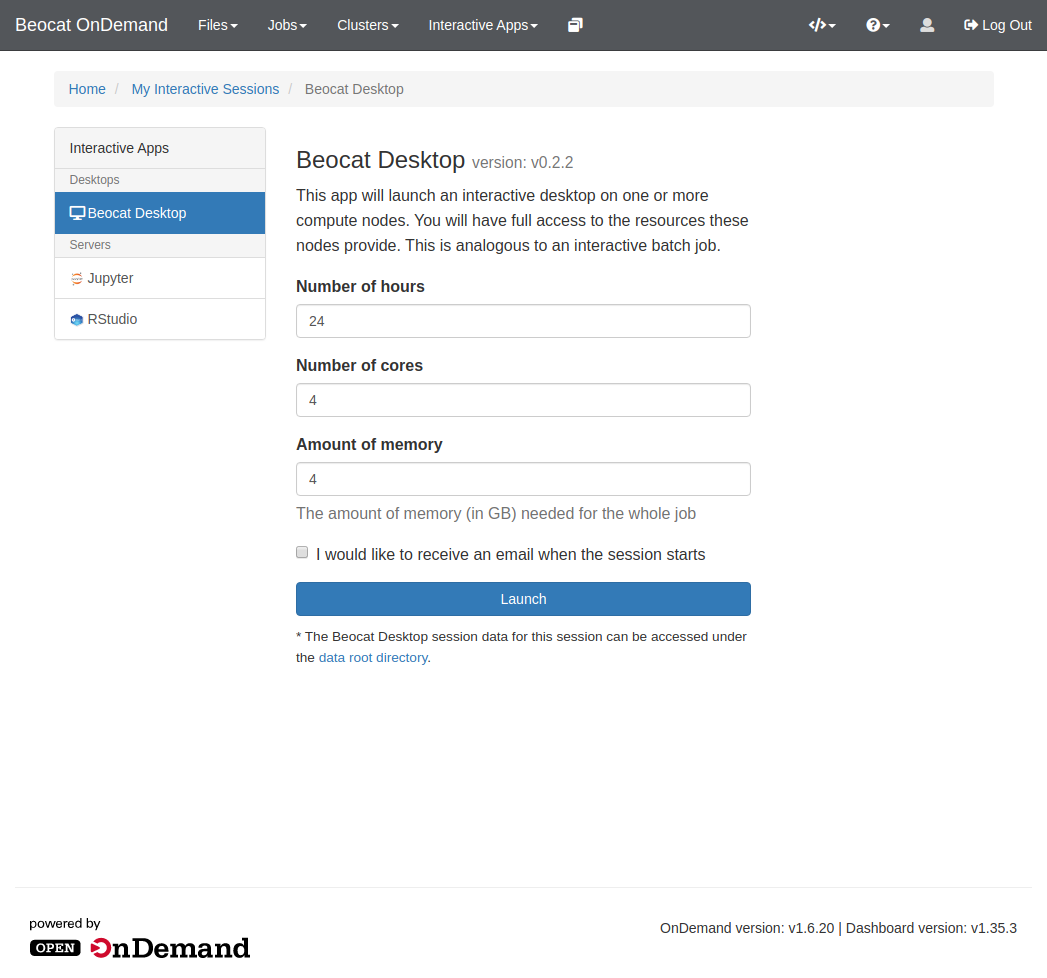
Sometimes, you just need a Desktop somewhere to run your graphical applications. This can be done through the Beocat Desktop option in the Interactive Apps dropdown on the dashboard.
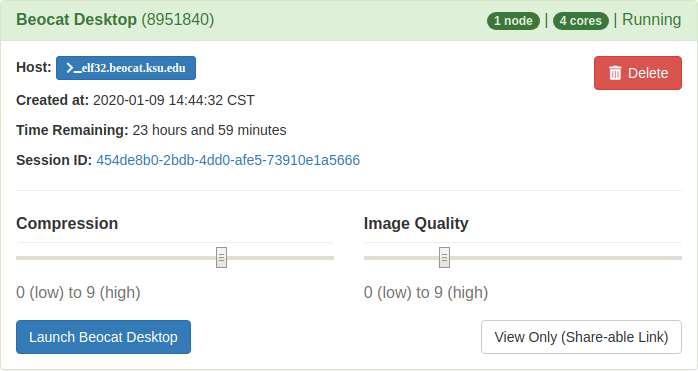
Once launched, you'll be able to connect to the desktop through vnc in the openondemand in the "My Interactive Sessions" tab.
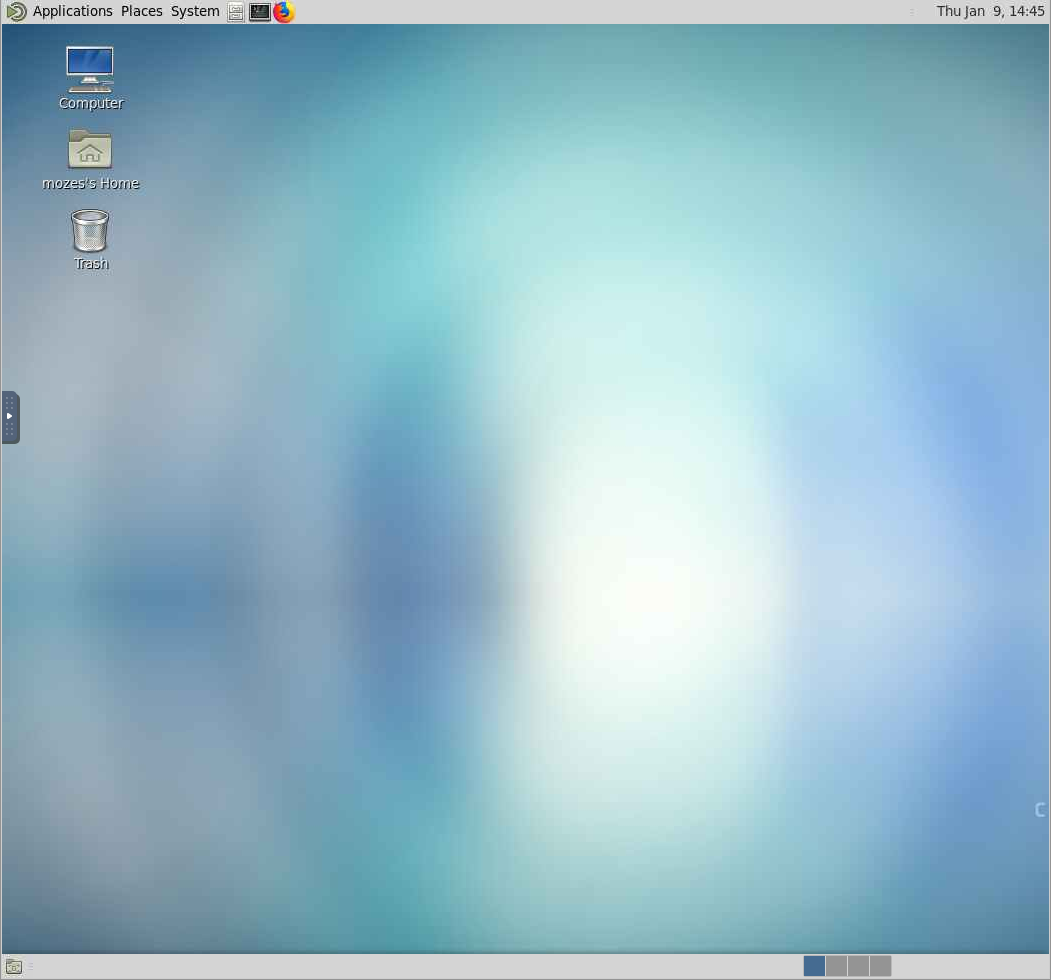
Once you've launched the Beocat Desktop, you can interact with it like a normal desktop through the browser.
Shell Access
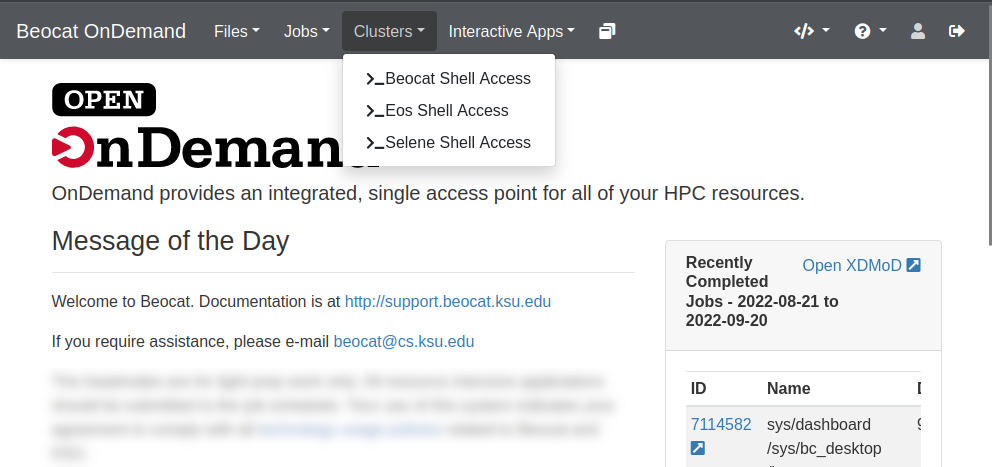
Somethings, no matter how hard we try, are easier to do via the command line. OpenOnDemand also gives you a way to handle those cases via the Clusters dropdown
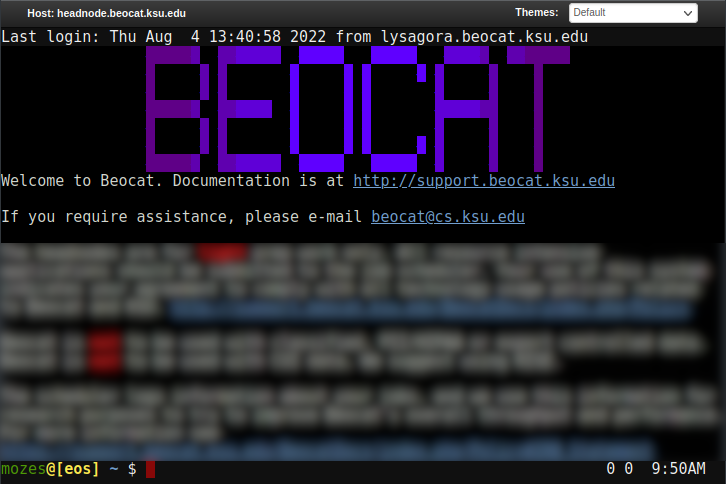
You can choose an individual headnode, if need-be, or you can choose "Beocat Shell Access" to be given one of the headnodes at random. Once chosen, you should be able to have a familiar command-line experience
